AI Photo Editor Packing Guides Need Visible Step Changes
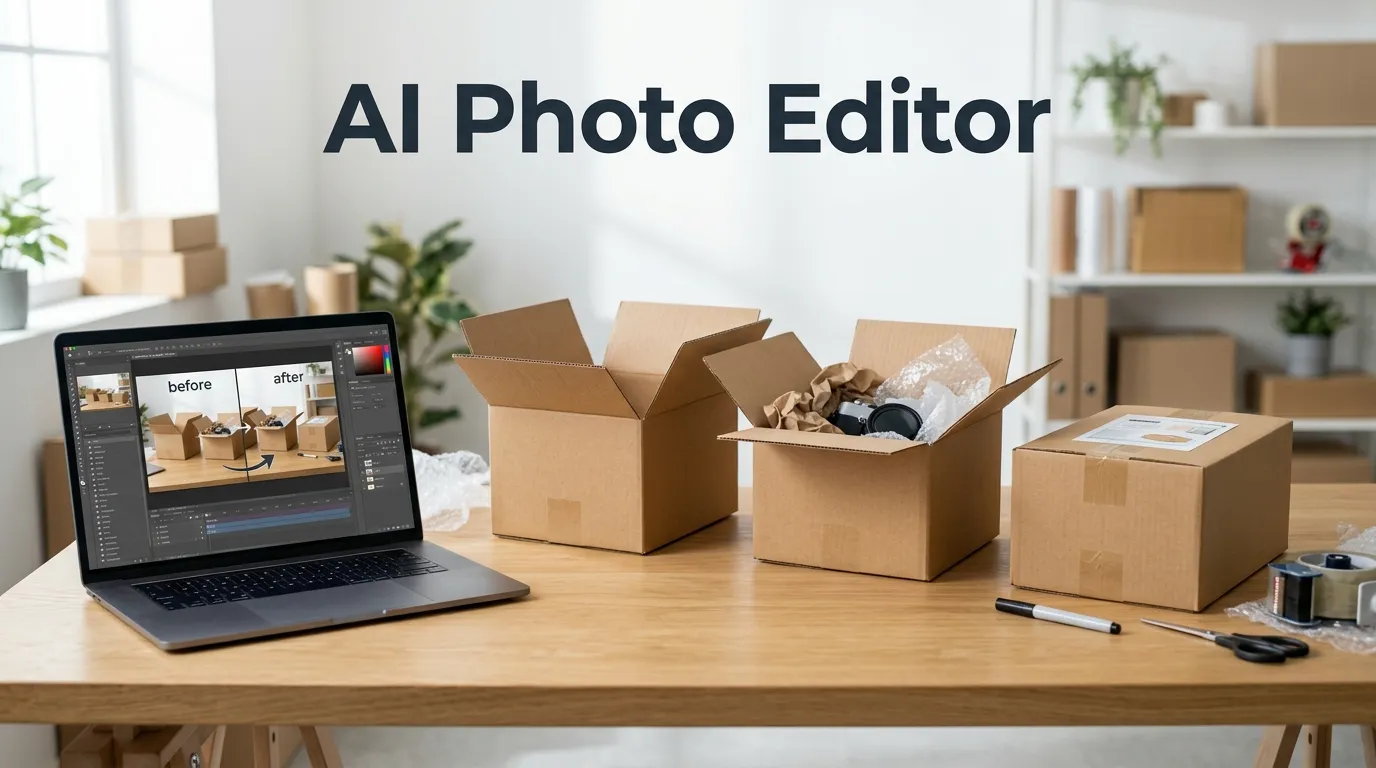
A photograph of a sealed carton tells a customer very little about how to pack it. The work that matters is already hidden: the item was wrapped, space was filled, and the contents were positioned before the flaps closed. A packing guide built from attractive finished pictures can leave a beginner guessing through every intermediate action.
The better sequence shows the state that must exist before the next action begins. That means choosing the photographs before polishing them. An editor can clean the setting later, but no amount of background removal will recover a packing stage nobody photographed.
Step One: Photograph the Changes a Beginner Cannot Infer
Choose the specific packing task the guide will explain and use the relevant supplier or carrier instructions as its basis. Requirements vary with the item and service, so a general visual workflow should not pretend to settle them all. The editor’s job is to make the approved process visible, with the actual materials in view.
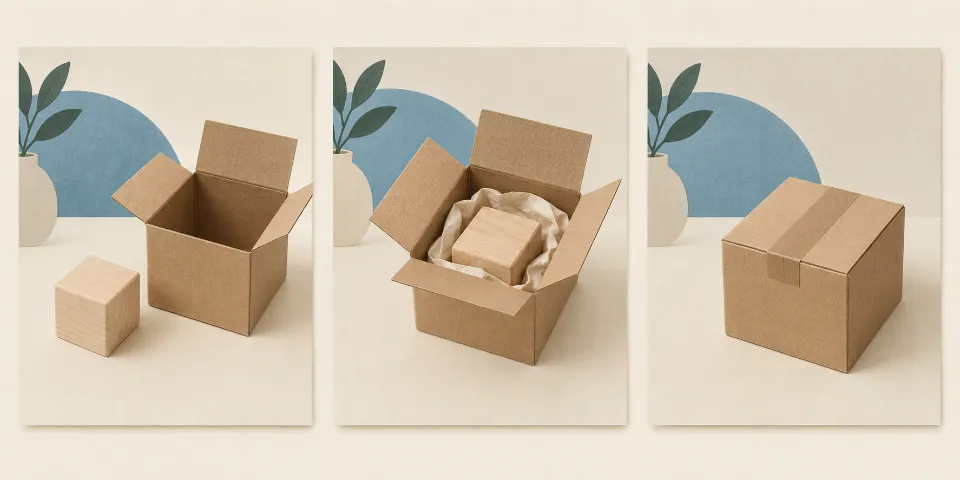
For a hypothetical guide, imagine a small nonfragile item being placed in a suitable box. A useful sequence might show the prepared item, its position inside the open carton, the completed interior arrangement, and the closed package. The exact materials and method still come from the applicable instructions. The photograph selection follows those instructions rather than inventing them.
Keep the camera on the same side of the work surface where possible. A box that rotates between every frame makes the beginner perform an extra mental task: deciding whether the object moved or the viewpoint changed. When a new angle is necessary, include enough of the carton for the reader to recognize its orientation.
An AI Photo Editor can improve the presentation of a captured stage, but the source set must already contain the important information. Before opening an editing tool, place the photographs in order and point to the change between each pair. If you cannot name that change, one frame may be redundant. Remove it temporarily and read the adjacent instructions together. If the process still makes sense, the extra image may be adding length without teaching another action. If a change has no photograph, arrange another capture.
Prepare Illustrative Copies Without Rebuilding the Packed Item
Separate the source photographs from the copies used in the guide. Keep a clear version of each source so a reviewer can compare the packing state after cleanup. This is especially useful when background clutter touches the edge of the carton or resembles an item that belongs in the package.
PicEditor AI offers a prompt-based object eraser: upload the image, describe the unwanted object, and generate a cleaned version. For a packing illustration, that might mean removing an unrelated mug from the workbench. It should not mean reconstructing the contents of the carton or adding protective material that was absent from the source.
An AI Photo Editor can help keep attention on the step, provided the edit has a narrow target. Name the distraction and compare the surrounding area afterward. The eraser rebuilds the region behind a removed object, so anything that overlaps the demonstrated packing arrangement deserves particular caution.
Someone looking for a pic editor AI to tidy a tutorial may be tempted to request a completely clean work surface. That instruction is too broad for a photograph carrying practical information. A loose sheet or small piece of material may be part of the preparation. Decide whether it belongs to the step before calling it clutter.
Use PicEditor AI on one illustrative copy first, then inspect it against the original. Check the carton opening, visible contents, and any material that explains the next action. If the edit changes one of those details, return to the source. A slightly untidy photograph is more useful than a polished one that teaches an arrangement the author never intended.
Rebuild the Sequence From Shuffled Picture Cards
Print or display the selected frames as separate cards, without step numbers, and ask a colleague unfamiliar with the guide to place them in order. This small review exercise reveals what the pictures themselves communicate. It is not a formal usability study, and one person’s success does not prove the guide will work for everyone.
Ask for a reason whenever two cards are exchanged. Perhaps the closed box looks like a starting point because it dominates the opening image. Perhaps two interior frames appear identical because the relevant material is hidden behind a flap. Those explanations identify missing visual information more precisely than a general comment that the guide is confusing.
A pic editor AI may help remove a distraction, but an ordering failure often needs a different source photograph. If the distinguishing action happened outside the frame, capture it. Avoid trying to generate the missing stage and presenting it as though it documented the same packing session.
After the picture order makes sense, restore the step numbers and short instructions in your normal page layout. Read each instruction beside its image. The text should describe the action that connects this visible state to the next one. It should not require the reader to imagine several unpictured operations between adjacent frames.
PicEditor AI can remain useful for a final localized cleanup after the sequence is settled. Keep that pass separate from rewriting the instructions. Otherwise, a review meeting can drift into debating a cleaner background while the actual problem is that the text refers to a material shown only in the following picture.
Inspect transitions involving a closed container carefully. Once the flaps are shut, the interior is no longer available as evidence. Make sure the preceding image shows whatever the approved process requires the reader to check before closure. If the guide jumps from an empty carton to a sealed one, add the missing source image instead of lengthening the caption.
A useful correction record contains the confusing pair and the reason it failed. For example, the reader could not distinguish placement from completion because both photographs hid the near corner. A replacement angle should expose that corner while retaining the same orientation. This gives the next review a concrete question to answer.
Finally, view the guide at its intended display size. The sequence may be logically correct while the material separating two steps is too small to see. A closer source frame can solve that problem, provided an adjacent overview keeps the reader oriented. Do not force one distant photograph to carry every detail simply to keep the guide short.
Each Published Step Should Explain the Next Action
Deliver the ordered source-based sequence with instructions checked against the relevant packing requirements. Retain the original images and the final edited copies together, so a later update can identify exactly which stage needs replacement.
The guide is ready when a new reader can see what has changed, recognize the current state, and understand the next action. A clean workbench can make that easier. It cannot substitute for the intermediate photograph that carries the lesson.
Also Read: Huawei Google Play Store